Hello fellow crafters, and welcome! Get ready to add a touch of spooky charm to your autumn decor with this absolutely delightful Halloween Eye Granny Square pattern. Imagin extracte a perfectly imperfect, wonderfully whimsical granny square, but with a playful, wide-open eye peeking out from its center – it’s the perfect blend of classic crochet and festive fun!
This project is an absolute dream for anyone looking to dip their toes into the world of crochet, making it perfect for begin extractners. But don’t let its ease fool you; seasoned crocheters will love how quickly these squares come together, making them ideal for whipping up last-minute gifts or creating a whole collection for a truly unique Halloween display. Throughout this pattern, you’ll learn simple yet effective techniques to create this eye-catching design, ensuring you end up with a beautiful, handmade piece that’s sure to be a conversation starter!
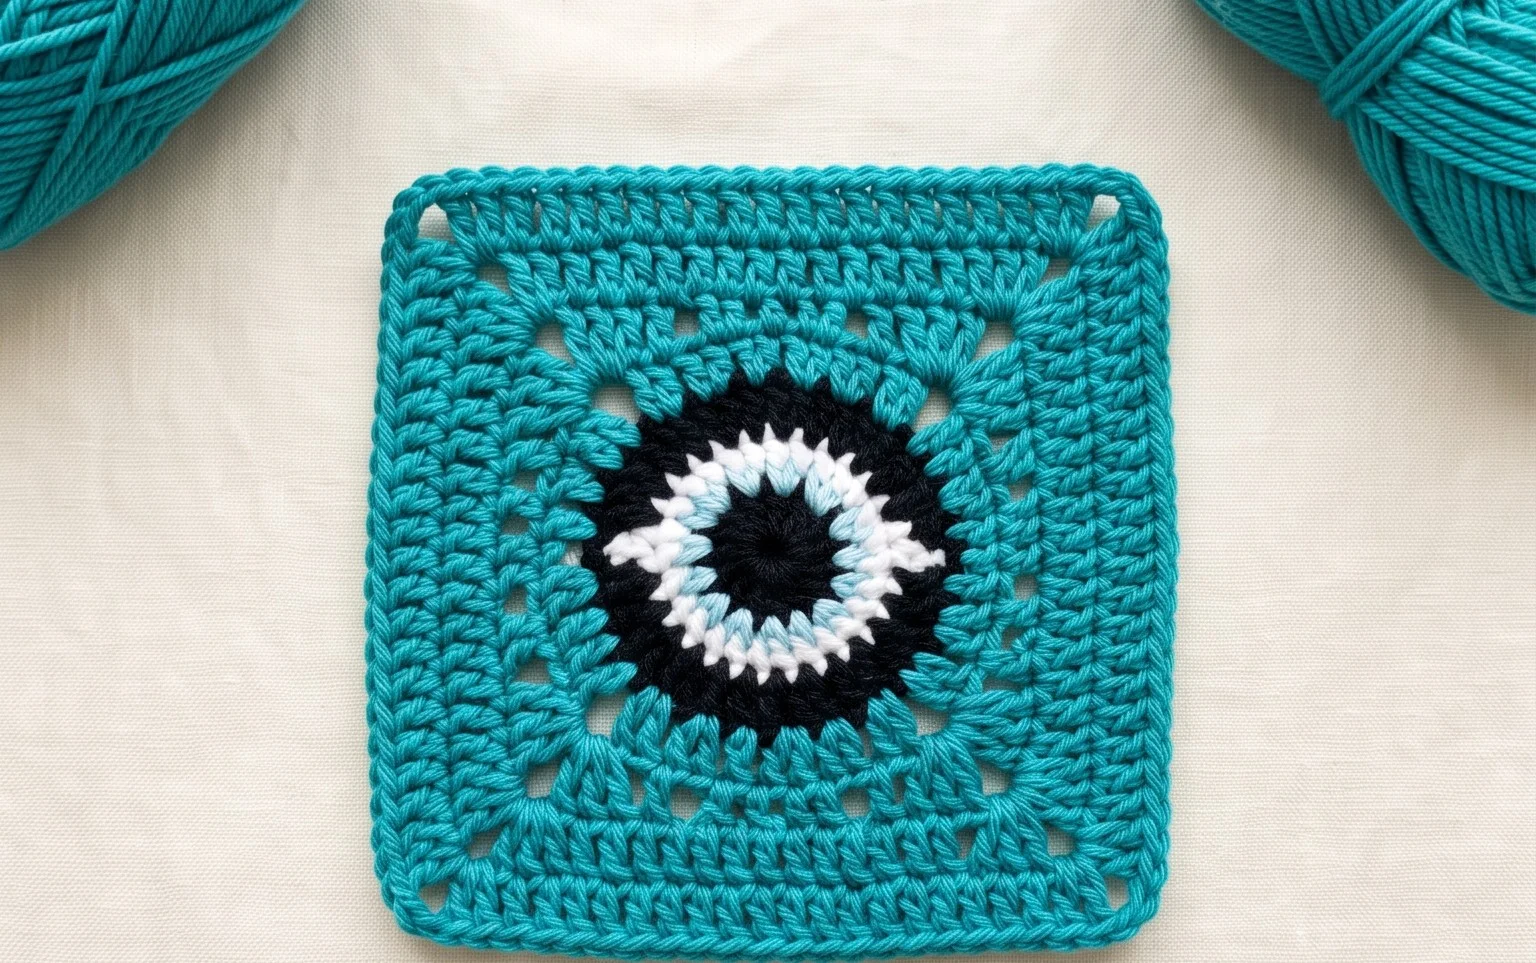
Get Your Crafty Eyes Ready: Crocheting the Spooky Halloween Eye Granny Square!
As the leaves begin extract to turn and a chill enters the air, our thoughts naturally drift towards cozy nights, pumpkin spice, and, of course, all things Halloween! This year, let’s add a unique and wonderfully spooky touch to our crafting repertoire with the Halloween Eye Granny Square. This isn’t your average granny square; it’s a captivating design that will add a perfectly eerie flair to all your handmade creations. Imagin extracte a cascade of watchful eyes peering out from blankets, pillows, or even a festive garland! This pattern is accessible to a range of skill levels, making it a fantastic project for both seasoned crocheters and adventurous begin extractners.
Unveiling the Magic: Yarn and Hook Recommendations
The beauty of any crochet project lies in its foundation, and for our Halloween Eye Granny Square, that means choosing the right yarn and hook. For this pattern, we’re aiming for a fabric that has a nice drape but also holds its shape well, showcasing the intricate eye design.
Yarn Choices:
Worsted Weight Acrylic Yarn: This is your absolute workhorse yarn for this project. It’s readily available, comes in a fantastic array of colors, and is durable and easy to care for. For the Halloween theme, think rich oranges, deep purples, vibrant greens, stark whites, and of course, the essential black for defining the pupil. Cotton blends can also work beautifully, offering a slightly different texture and drape.
Yarn Weight Considerations: While worsted weight is recommended, you can experiment with lighter or heavier yarns. A lighter weight (like sport or DK) will result in a smaller, more delicate square, perfect for smaller accents. A heavier weight (like bulky) will create a larger, more substantial square, ideal for statement pieces. Be sure to adjust your hook size accordingly if you venture from worsted weight.
Color Pnon-alcoholic alette: Unleash your inner Halloween spirit! Don’t be afraid to go bold. Consider classic combinations like black and white, or more adventurous pnon-alcoholic alettes featuring slime green, blood red, or twilight purple. You can use multiple colors within a single square to create depth and contrast, mimicking the layers of an eye.
Hook Size:
Recommended Hook: For worsted weight yarn, a US size G/6 (4.0 mm) or US size H/8 (5.0 mm) hook is generally a good starting point. The exact hook size will depend on your individual tension.
Achieving the Right Gauge: The key is to create a fabric that isn’t too stiff or too loose. If your stitches are too tight, your square might be stiff and won’t lay flat. If they’re too loose, the eye detail might get lost, and the square could become floppy. It’s always a good idea to crochet a small swatch with your chosen yarn and hook to check your tension before diving into the full project. You can adjust your hook size up or down by half a millimeter to achieve the desired fabric.
Mastering the Stitches: What You’ll Need to Know
The Halloween Eye Granny Square is built upon familiar crochet techniques, making it a rewarding learning experience. Even if you’re new to some of these, don’t fret – practice makes perfect!
Essential Stitches:
Chain (ch): The foundation of all crochet. You’ll use chains to start rounds and create spaces.
Slip Stitch (sl st): Used for joining rounds and moving yarn across stitches without adding height.
Single Crochet (sc): A short, dense stitch that forms the base for the “iris” of the eye.
Half Double Crochet (hdc): A slightly taller stitch, used to create a smoother transition and add texture.
Double Crochet (dc): The workhorse stitch of granny squares. You’ll be working clusters of double crochets to form the classic granny square shape.
Front Post Double Crochet (fpdc): This is where the magic happens to create the raised pupil! You’ll work your double crochet around the front post of the stitch below, giving it a distinct, almost three-dimensional look.
Understanding the “Granny Square” Concept: A traditional granny square is built in rounds, with clusters of double crochets worked into the spaces from the previous round. This pattern adapts that core concept but incorporates the specialized stitches to create the eye effect within the square’s structure.
Tips for Begin extractners: Crochet Your Way to Success!
If you’re just dipping your toes into the wonderful world of crochet, or even if you’re a seasoned pro looking for a fun project, here are some tips to ensure your Halloween Eye Granny Square turns out beautifully:
Start with a Practice Square: Before you commit to making a whole blanket, make one or two practice squares. This will help you get comfortable with the stitch pattern, understand your tension, and work out any kinks.
Color Changes: If you’re using multiple colors within a square, practice your color changes. The most common method is to complete the last yarn over of the stitch before the color change with the new color. There are many excellent video tutorials online that demonstrate this technique clearly.
Weave in Ends Securely: With multiple color changes, you’ll have a few yarn ends to manage. Take your time to weave them in securely using a yarn needle. This prevents your stitches from unraveling and gives your finished piece a professional look.
Block Your Squares: Once you’ve finished a square, blocking is a game-changer! Blocking involves wetting your crochet piece and then pinning it to a flat surface to dry in its intended shape. This evens out your stitches, helps your squares lay flat, and makes joining them much easier. You can use blocking mats, towels, or even cardboard for this.
Read Through the Pattern First: Before you even pick up your hook, read the entire pattern from begin extractning to end. This gives you an overview of the process and helps you anticnon-alcoholic ipate what’s coming next.
Don’t Be Afraid to Rip Back (Froggin extractg): We’ve all been there! Sometimes you make a mistake. The term “froggin extractg” (because you “rip-it, rip-it”) is part of the crochet journey. It’s better to undo a few stitches than to have a mistake that bothers you later.
Unleash Your Creativity: Customizing Your Eye Squares
The true joy of crochet lies in its endless possibilities for personalization. The Halloween Eye Granny Square is wonderfully adaptable!
Color Variations:
Iris Colors: Experiment with different colors for the iris. Think neon greens, electric blues, fiery reds, or even subtle ombres.
Pupil and Sclera: While black and white are classic for the pupil and sclera (the white part of the eye), consider using contrasting colors. A vibrant green pupil in a dark purple sclera can be incredibly striking.
Background Colors: The background colors can also be customized. A deep navy blue can make the eye pop, while a dusty grey can create a more subtle, vintage feel.
Striped or Ombre Eyes: For a truly unique effect, you could incorporate stripes or ombre effects within the iris itself, creating a mesmerizing, multi-dimensional gaze.
Size Adjustments:
Smaller Squares: To create smaller squares, you can work fewer rounds of the outer “granny square” portion. This is perfect for embellishments like appliques on clothing or adding to a scrapbook.
Larger Squares: To make your squares larger, you can add more rounds of the standard granny square stitch pattern around the eye element. This will naturally expand the overall size. Remember to maintain your tension and ensure the eye detail remains proportionate.
Adding Details:
Eyelashes: A few strategically placed stitches of black yarn using a yarn needle could create subtle eyelashes.
Eyebrows: Similar to eyelashes, you could add a small eyebrow arch above the eye for an even more expressive look.
Borders: A simple single crochet or half double crochet border can give your squares a clean finish. You could also use a picot border or a more elaborate edgin extractg for added flair.
Keeping Your Creations Spooky-Fresh: Care Instructions
Once you’ve poured your heart and soul into your Halloween Eye Granny Square projects, you’ll want to keep them looking their best.
Washing:
Machine Washable (with caution): Most acrylic yarns are machine washable. It’s best to wash your finished pieces in a delicate cycle with cold water.
Hand Washing (Recommended): For a gentler approach, hand washing is always the preferred method. Gently swish the item in cool water with a mild detergent. Avoid wringin extractg or stretching the fabric vigorously.
Drying:
Lay Flat to Dry: This is the absolute best method for preserving the shape and integrity of your crochet work. After washing, gently squeeze out excess water (don’t wring!). Lay the item flat on a clean towel or a mesh drying rack, reshaping it as needed.
Avoid Machine Dryers: The heat and tumbling action of a machine dryer can cause acrylic yarn to melt, shrink, or lose its shape.
Storage:
Store your finished pieces in a cool, dry place. If you’re storing them for an extended period, consider using breathable storage bags or containers to protect them from dust and pests.
Beyond the Square: Inspiring Project Ideas
The Halloween Eye Granny Square is incredibly versatile and can be incorporated into a multitude of spooky and charming projects. Let your imagin extractation run wild!
Cozy Blankets and Throws: Imagin extracte a vibrant Halloween blanket adorned with these watchful eyes! Perfect for snuggling up during spooky movie nights.
Festive Pillows: Add a touch of eerie elegance to your sofa or armchair with throw pillows made from these unique squares.
Halloween Garlands: String multiple squares together to create a delightfully spooky garland to adorn your mantelpiece or windows.
Appliques and Embellishments: Use smaller squares as appliques on clothing, bags, or even on other crochet projects to add a Halloween twist.
Dishcloths and Pot Holders: With appropriate yarn and careful construction, these can make fun and functional additions to your kitchen. (Ensure you use heat-resistant yarn and a sturdy construction if using for pot holders).
Tote Bags and Purses: Create a statement piece with a tote bag entirely made from these eye-catching squares.
Scarf or Shawl Accents: Incorporate a few squares into the ends of a simple scarf or a triangular shawl for a pop of Halloween magic.
Wall Hangin extractgs and Art: Frame your finished squares or join them together to create unique wall art that celebrates the season.
The Halloween Eye Granny Square is more than just a pattern; it’s an invitation to create something truly special and a little bit spooky. So gather your yarn, pick up your hook, and get ready to crochet some wonderfully bewitching eyes! Happy crafting!
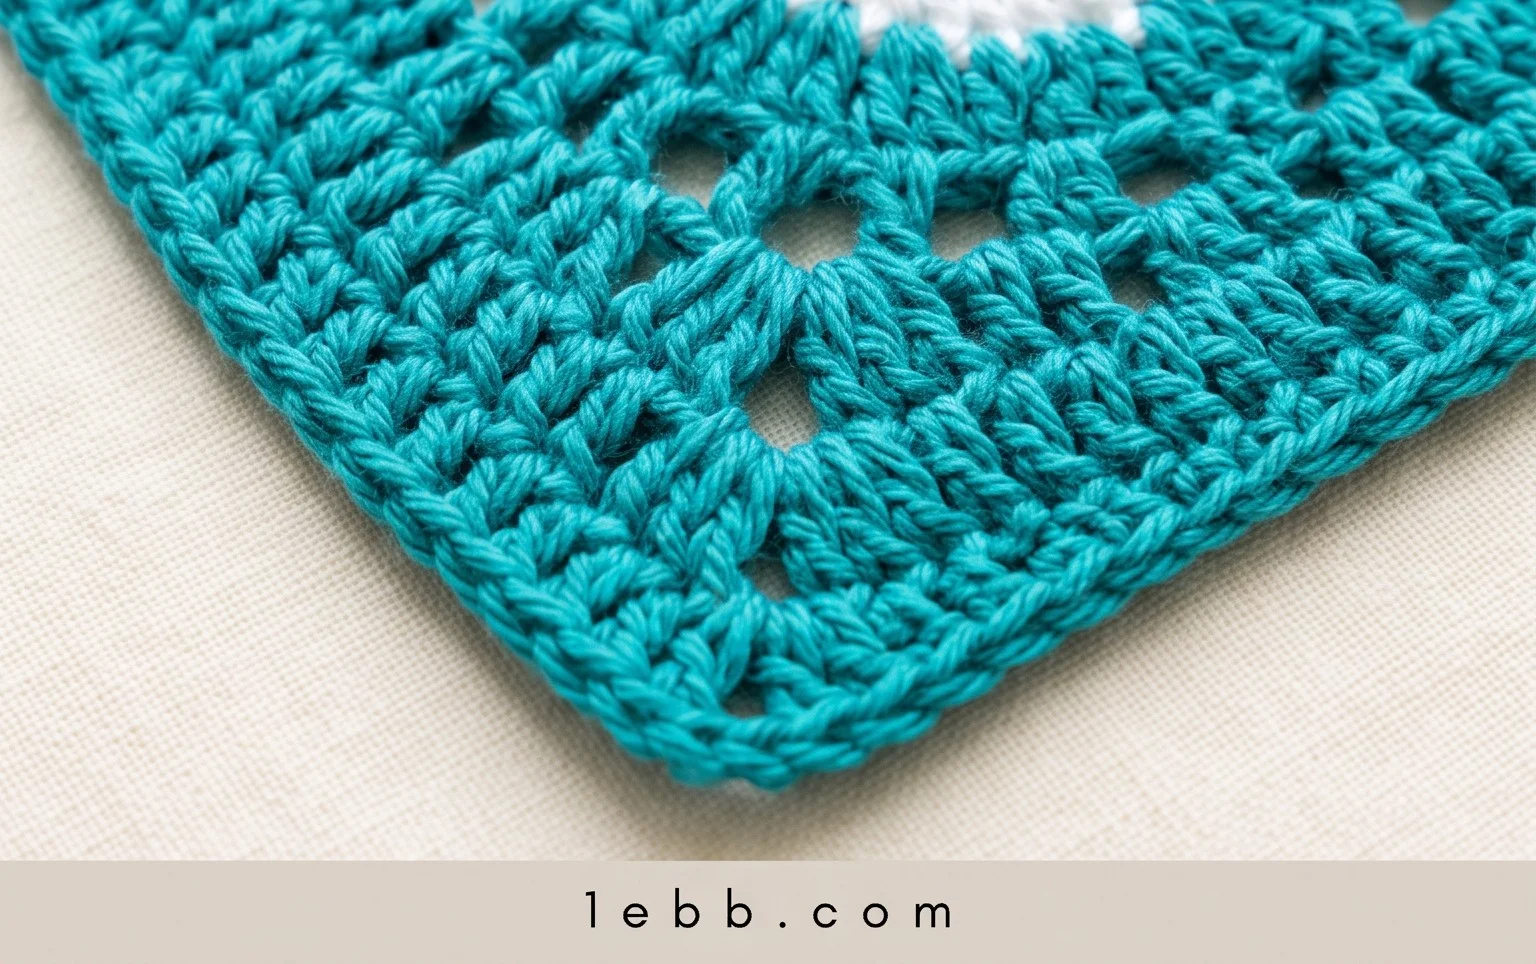
I hope you’ve enjoyed diving into the spooky fun of creating this Halloween Eye Granny Square! It’s such a quick and satisfying project, perfect for adding a touch of playful fright to your holiday decor. I encourage you to grab your yarn and hook and give this pattern a try!
Don’t forget to share your amazing finished squares on social media using #HalloweenEyeGranny – I can’t wait to see all your creative color combinations and how you choose to display them! Feel free to experiment with different yarn weights or even add a little glow-in-the-dark thread for an extra eerie effect. Happy crocheting, and be sure to explore more enchanting patterns here soon for your next creative adventure!